Moonton Mobile Legends is back with updates with refreshing news and information for gamers. Towards the change of season, Moonton will update the game system to make it even more epic and interesting. This time we will discuss the emergence of the strongest Fighter heroes for mainstay gamers in the new season. Previously, Dyrroth was the best Fighter hero because he had high regen ability and great damage. However, this time the hero must be removed and replaced by another hero who is strong enough to win the game.
The Hero Fighter recommended in March 2024 has more complex and effective abilities in the current META Mobile Legends. With painful burst damage, of course it gives you the opportunity to defeat the enemy more easily. To get maximum Fighter hero abilities, you need to pay attention to the damage, durability, crowd control and regen ability of the chosen hero.
Let’s immediately discuss the 6 strongest Fighter heroes who can dominate the game based on META Mobile Legends March 2024, as follows:
1. Ruby
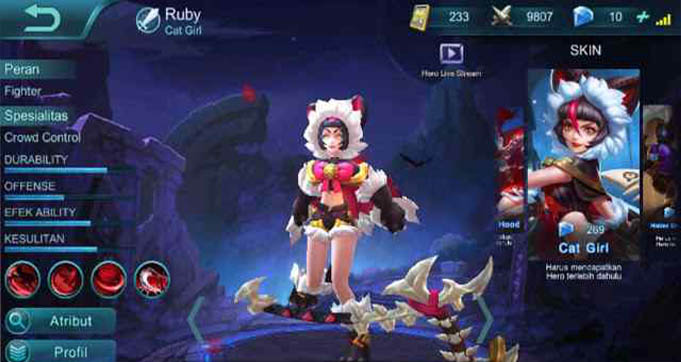
Ruby is a popular hero that is increasingly being used by gamers because it has a combination of Fighter and Tank with high Physical Lifesteal. Ruby’s skills include Be Good, Don’t run, Wolf King, Ultimate Offended, passive skill Let’s Dance. The lifesteal ability will make him even stronger with additional items such as Haas Claws and Endless Battle. Apart from that, Ruby can finish off Minions quickly, allowing her to help Heroes on other Lanes. It’s not wrong if Ruby is said to be a complete package hero who is able to compete and paralyze other Fighter heroes thanks to his durability and lifesteal. Ruby’s superiority can be felt in skill 1 in opening the map and initiating war with the Ulti+Flicker combo.
2. Cici
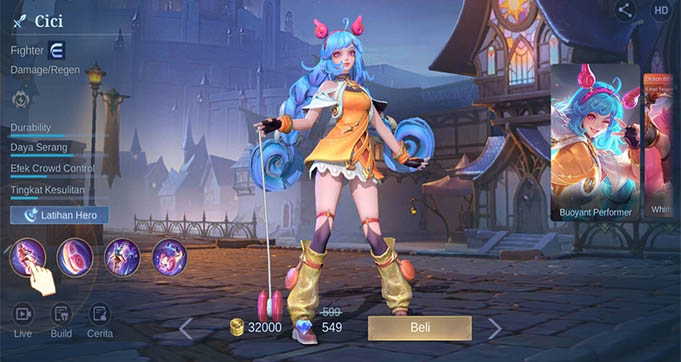
Land of Dawn received the arrival of the best Cici hero who was able to master victory in Exp Lane. This hero is quite unique because he has a yo-yo weapon to attack opponents. Cici’s hero’s agile movements and full joy make gamers always interested in using him. Cici’s Ultimate Skill is the best because the yo-yo attack aimed at the main hero can cause other enemy heroes at close range to also be attacked. This Yo-Yo Blitz skill will increase 20% if only 1 enemy hero is attacked. To maximize Cici’s attacks, the recommended build items are Tough Boots, War Axe, Hunter Strike, Brute Force Breastplate, and Malefic Roar.
3. Guinevere
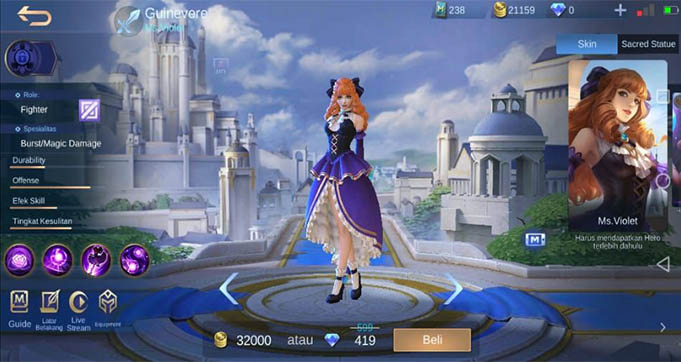
In the Mobile Legends war game, we often find the hero Guinevere who often wins the team. This is because this hero has the ability to attack enemies quickly and can increase his Physical ATK. Guinevere’s skills are Super Magic, Energy Wave, Spatial Migration, and Ultimate Violet Requiem Skill. To be able to carry out maximum and painful attacks on your opponent’s heroes, of course you can use the recommended Emblems such as Arcane Boots, Concentrated Energy, Holy Crystal, Genius Wand, Winter Truncheon, Immortarlity. In order to play safely in the game, it is important for you to avoid the hero Wanwan Diggie, Faramis who is effective in weakening the hero Guinevere.
4. Arlott
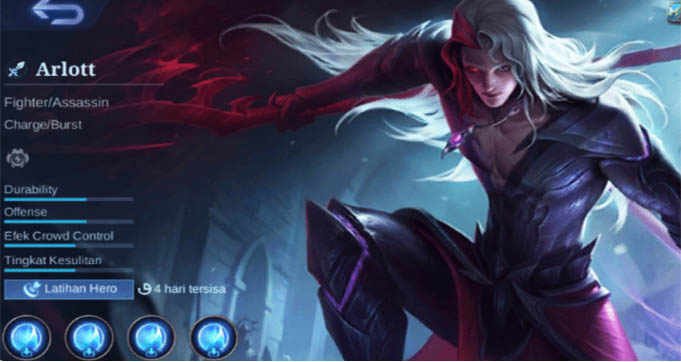
Arlott is a Fighter hero who is quite superior in winning games. With high durability, he can compete with various other heroes quite well. You need to know that the correct use of builds to increase Arlott’s abilities is in the form of Warrior Boots, Blade of the Heptaseas, Endless battle, Hunter Strike, Malefic Roar, Blade of Despair. Arlott also has the best skill which is able to attack enemies quickly through Demon Gaze. Apart from that, Dauntless Strike, Vengeance, and Final Slash will provide up to 400 + 80% Extra Physical Atk when attacking enemies. It is not surprising that there are more and more Arlott fans and they are often relied on to increase their winnings.
5. Terizla
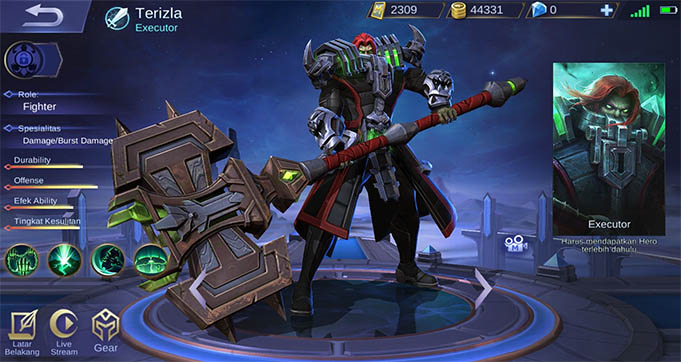
Terizla is a Fighter hero who has excellent durability. Having a big hammer weapon makes this hero look tough with great power. Terizla is the strongest hero in the Land of Dawn which gives the team the best chance of winning. The advantage of this hero is that he is very strong in the early game, so it is an opportunity for the team to destroy the opposing team’s tower. Terizla’s best skill is Penalty Zone which throws an iron ball at the target location which will slow down movement. For his ultimate skill, Execution Strike makes Terizla jump to the location he determines and causes major physical damage to enemies around him.
6. X.Borg
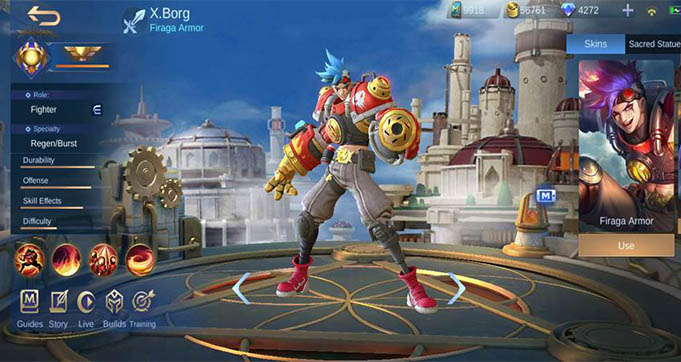
X.Borg is a Fighter hero who is increasingly popular among gamers because he has the potential to clear Jungler quickly. To maximize X.Borg’s attacks on enemies, you can use the recommended builds in the form of Ice Hunter’s Tough Boots, War Axe, Bloodlust Axe, Brute Force Breastplate, Blade of Despair, Malefic Roar. Meanwhile, an emblem that is suitable to use is Festival of Blood which can increase the Spell Vamp status and make X.Borg more sustainable in team fights. It is best not to use Ultimate skills in a hurry so as not to lose Firaga Armor.
So, those are the 6 best Fighter Heroes in Mobile Legends March 2024 that you can target and learn their skills to expand your best playing abilities. For those of you who haven’t joined, immediately download the Mobile Legends game application on Playstore and Appstore to play on Android & iOS smartphone